
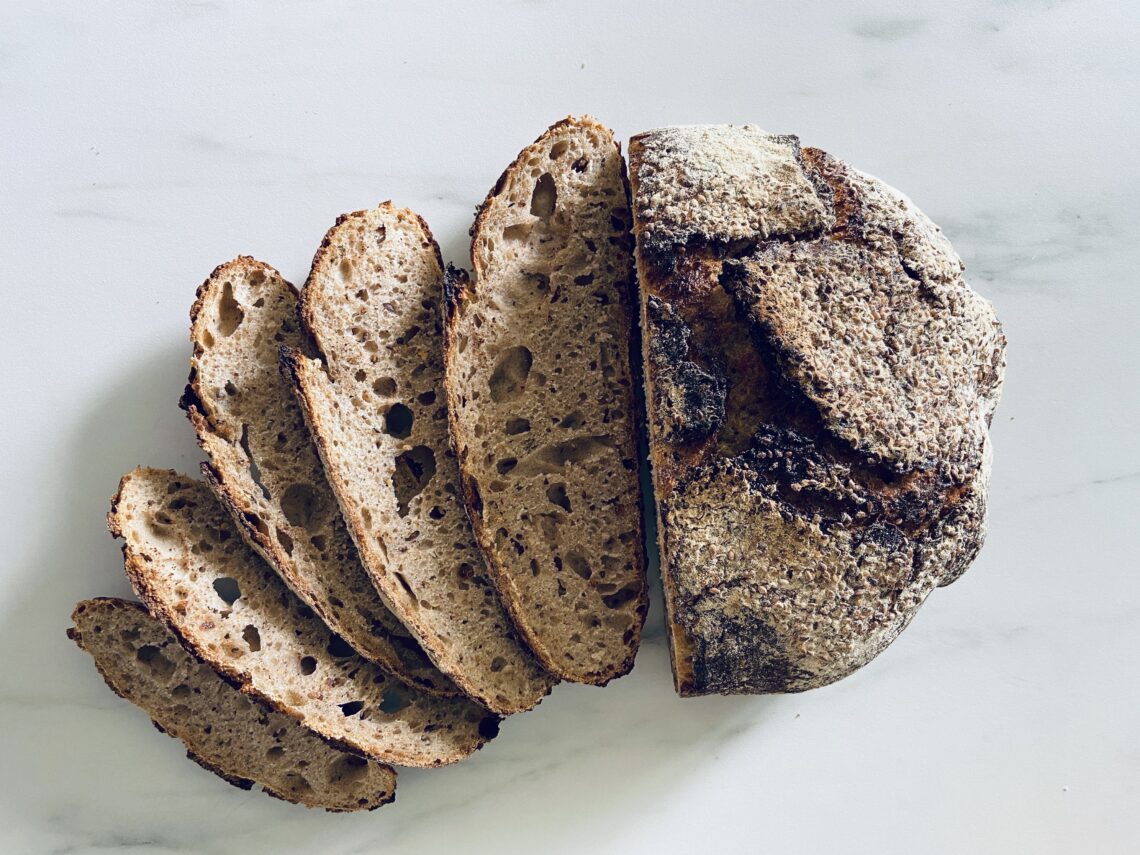
Is there really anything better than fresh bread in your kitchen?
I certainly don’t think so! But I have to warn you, if you’re a passionate and seasoned baker, you’re likely going to cringe at how un-scientific and lazy this recipe is… Apologies in advance! For everyone else, I hope you enjoy this easy, rustic & crusty sourdough bread recipe, and let me know in the comments section below how yours turns out! I’m always thrilled by how much my friends enjoy this bread- it’s too easy to not make it for gatherings or even as a little gift! Oh, and did I mention it costs me about 1 EURO to make?!
One of my new favorite life skills I picked up during 2020 has been how to make sourdough bread with a starter. Just like everyone else this year, I too hopped on the ‘make your own sourdough starter’ bandwagon. My therapist had even mentioned this phase which everyone seemed to go through- I admitted I’m still in it! I absolutely love having one and how it has made me more creative and self-sufficient in the kitchen. I’ve even dehydrated some of my sourdough starter by following this King Arthur recipe just in case I mess something up or accidentally kill it.
People have been making bread for something like 30,000 years, so there’s no need to overcomplicate things!
Rustic Sourdough Bread is EASY!
Part of the beauty of homemade bread is that even if it doesn’t turn out perfectly like the artisanal loaves on Instagram or the $8 loaves from Whole Foods, it will STILL be delicious. I remember when I just started baking bread I found all of the information out there (and baker’s lingo) to be quite overwhelming. This recipe (hopefully) won’t do that! This is just the recipe that I can throw together on autopilot and works for me. If you want, sometimes I will add in fresh rosemary, Kalamata olives, or cranberries and walnuts to make the bread more fun and give it even more rustic charm – play with what you have in the kitchen and try something new!
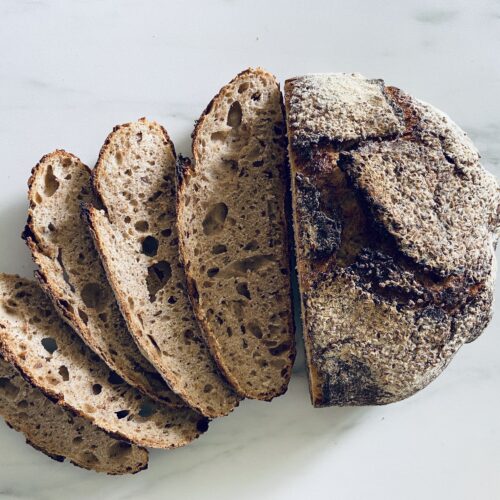
This easy, rustic, & crusty sourdough bread is delicious with some smashed avocado, or to dip in a soup! It’s even inspired me to come up with my own tempeh sandwich creation. Whether I have a meal to pair bread with in mind or not, without fail, this bread disappears in a day!

Grab your sourdough starter (or get some from a friend) and lets go!
Because I’m living in Germany, I will be listing some potentially unfamiliar names in the ingredients list! There’s a huge variety of flour’s here compared to what I remember seeing back home, so I’ll do my best to list what the American equivalent would be! You might notice I add in an extra ingredient which you won’t see in other loaves of bread, and that’s ground flaxseed, a very inexpensive superfood which is rich in Omega 3! If you don’t have it, you can omit this ingredient, but I make sure to get some in my diet every day and it has no flavor!
What you’ll need to make this easy, rustic, & crusty sourdough bread:
- Active sourdough starter (mine is of whole-grain rye- highly recommend!)
- Digital kitchen scale
- Whisk, bowl, kitchen towel, knife/scoring tool, dough scraper, and an optional sturdy silicone spatula
- White & whole grain flours
- Salt
- Ground Flaxseed
- Dutch oven
- Parchment paper
The night before you want to bake (or very early in the morning for an evening loaf): make sure your starter is active! If I take my starter right out of the fridge, I have to feed it around 1 PM and again at 6 PM. Whenever you feed your starter in the evening, wait until it has doubled in size, for me this takes about 3.5 hours.
When your sourdough starter is ready…
Measure out 330g of cool water in a large bowl. Then add in 80g of starter to the water and whisk it together.
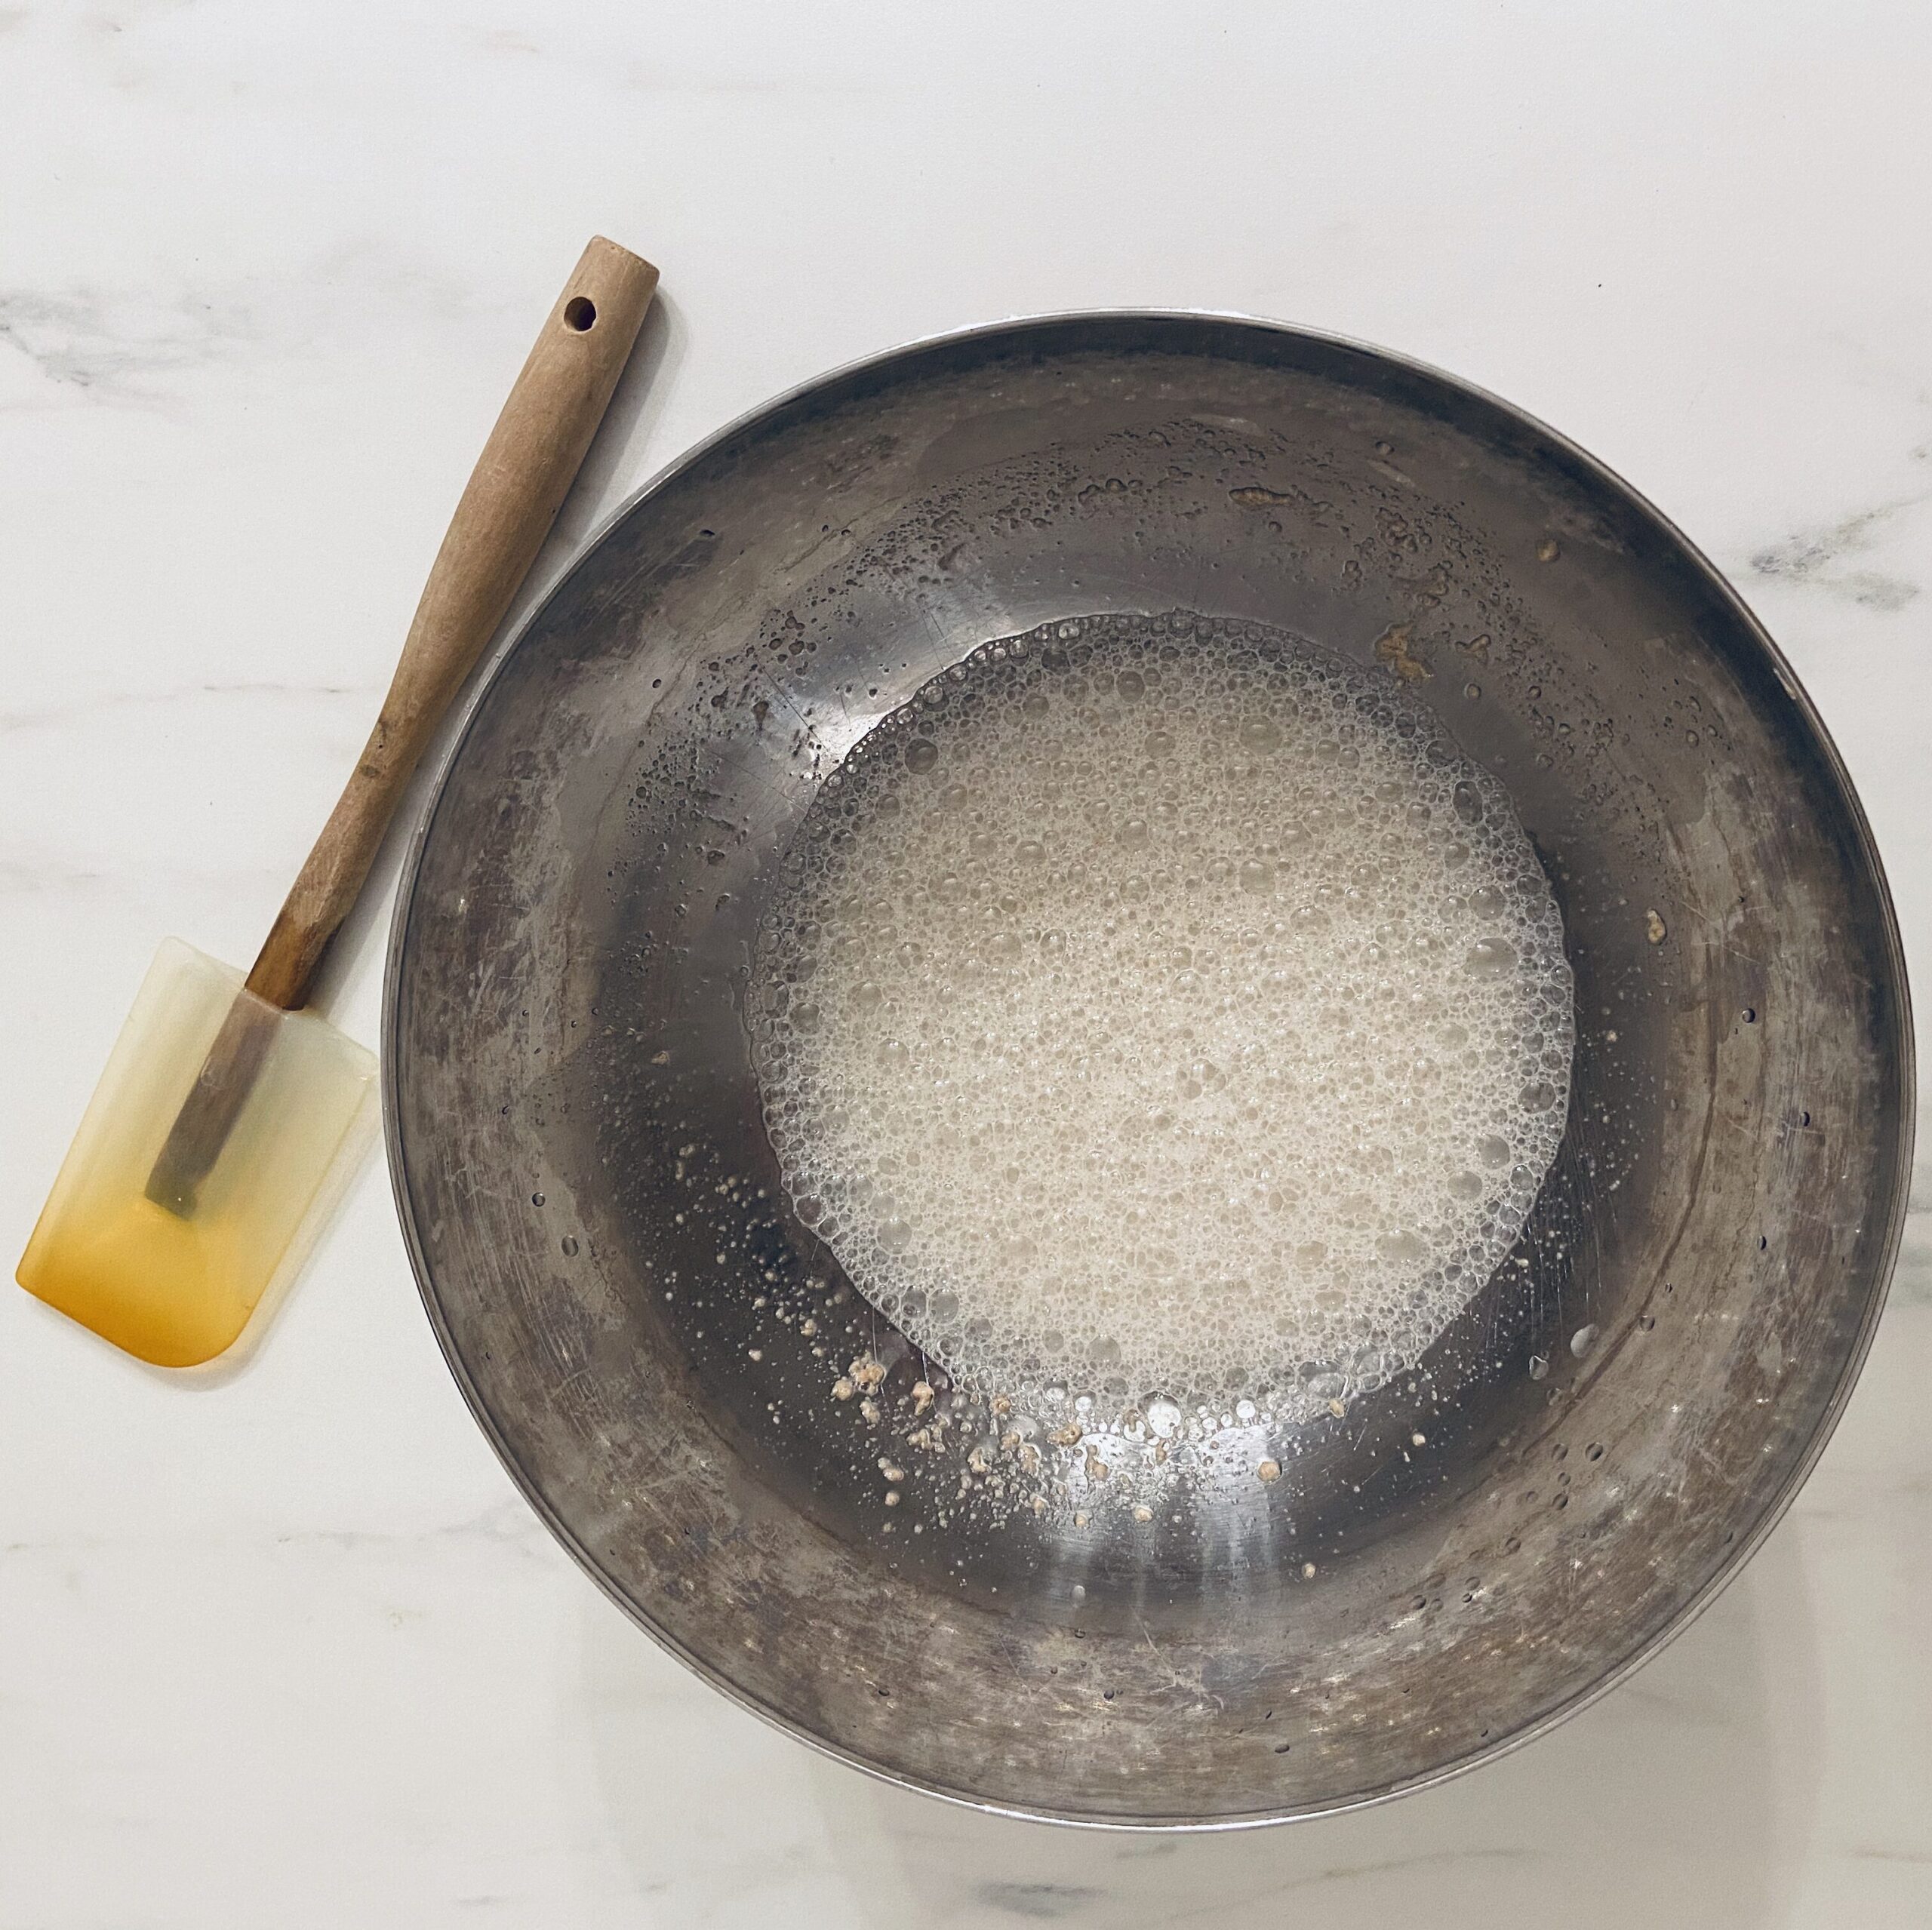
Now add in your flours, salt, and ground flaxseed. I use an iodized salt to make sure I get some iodine in my diet.
Take your spatula, or your hands if you want to get messy, and combine all the ingredients until they’re loosely combined. A friend generously gave me a Danish dough whisk and I’m loving that for this step!
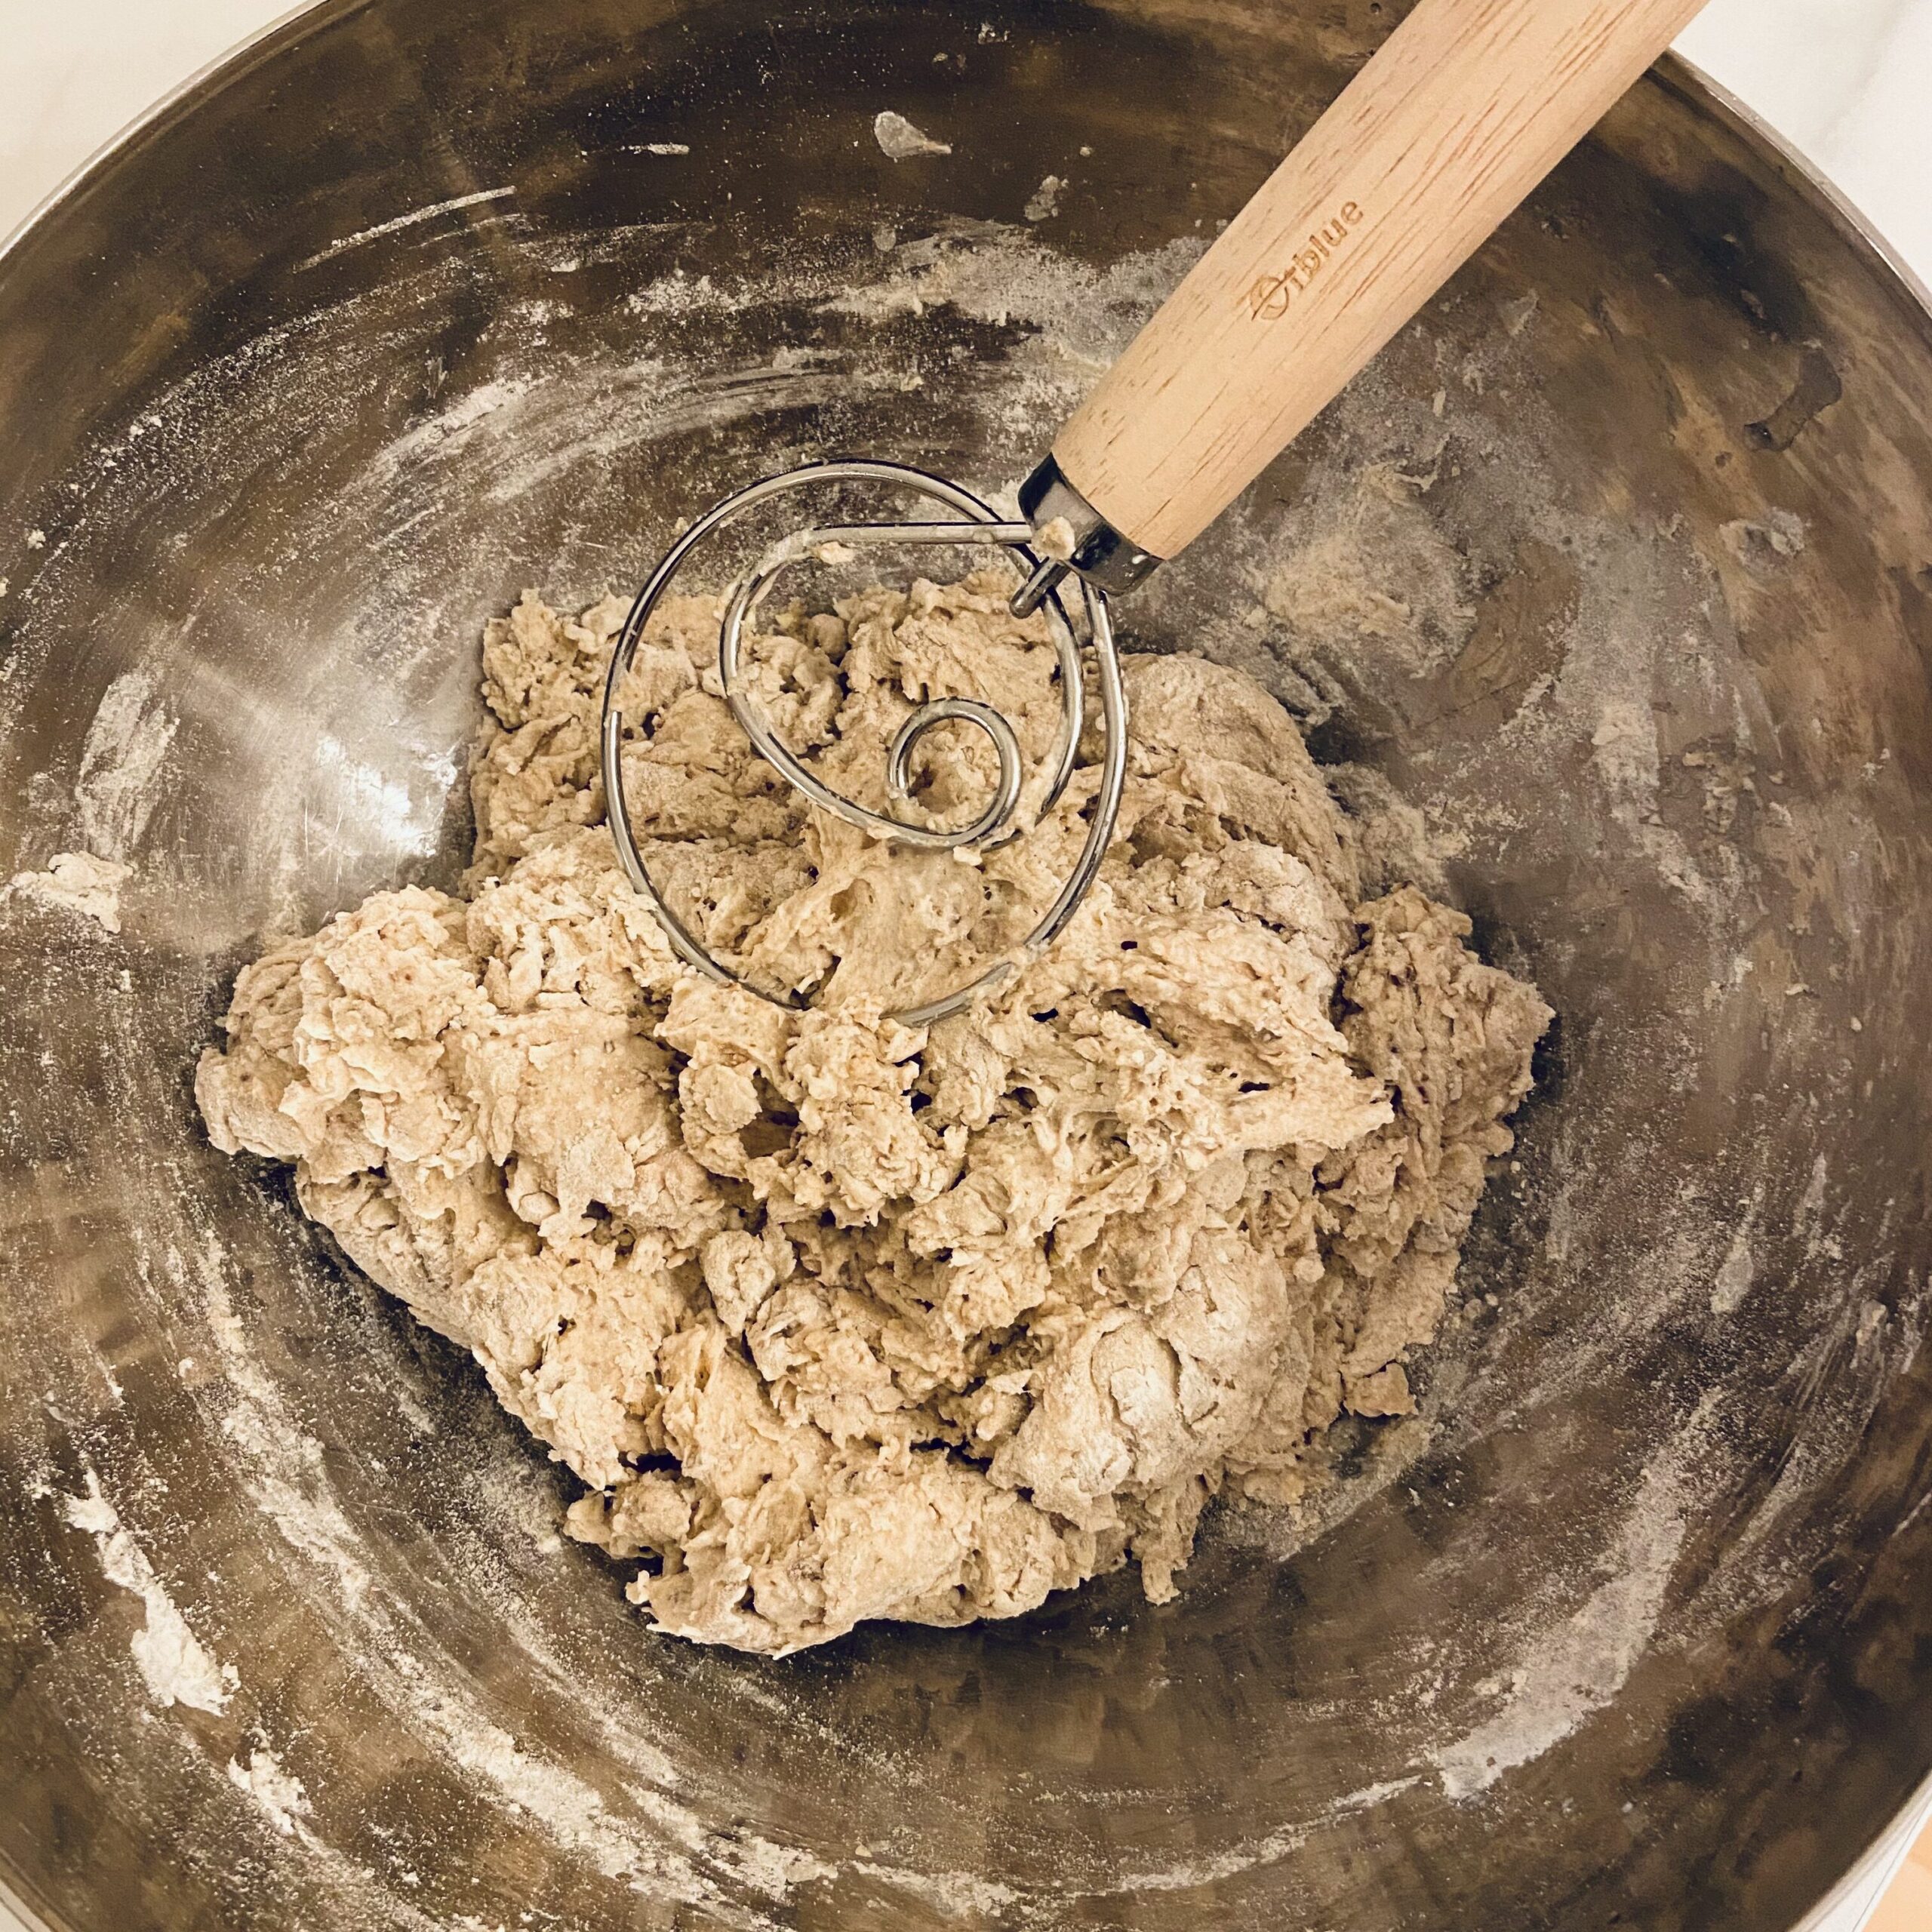
Cover the bowl with a damp towel and let it sit for 20-30 minutes.
After letting your dough autolyze pull the outside of the dough in. I work the dough with a spatula because I don’t like to get my hands covered in this sticky flour mixture. TIP: If your kitchen is really warm like in the summer months, I’d recommend repeating this step after another 30-60 minutes.
Let your bread rest 8-10 hours
Now go to bed and set an alarm so you don’t sleep in too late! In the morning, take your dutch oven and put it in the oven, and turn it on to 250°C.
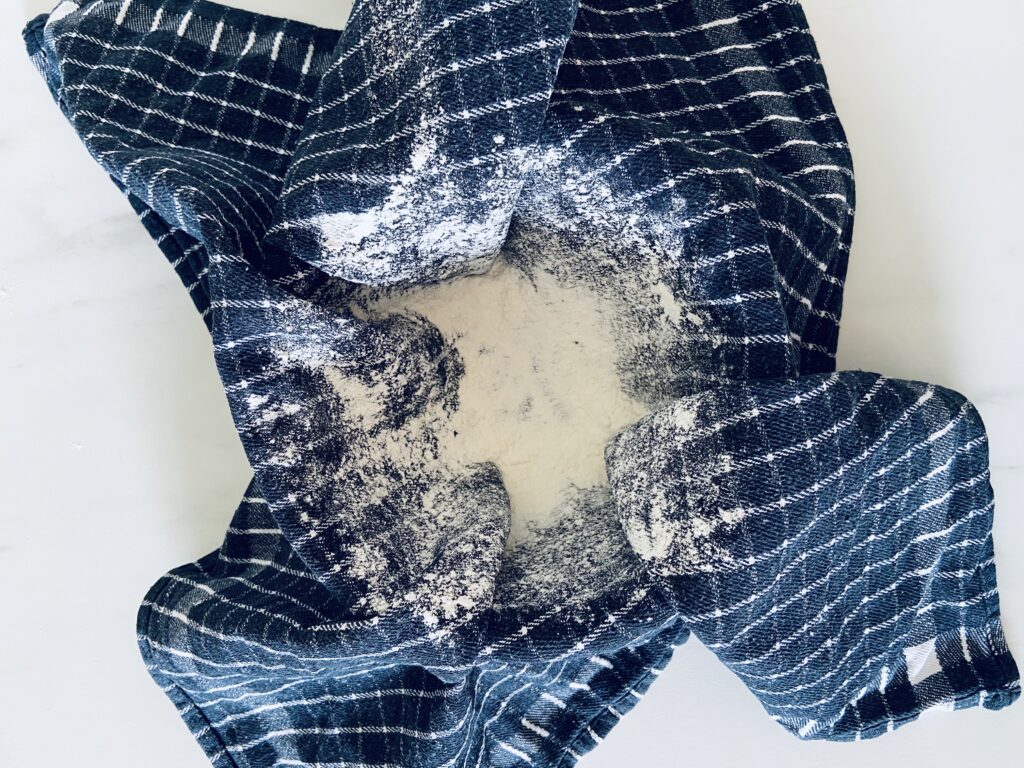
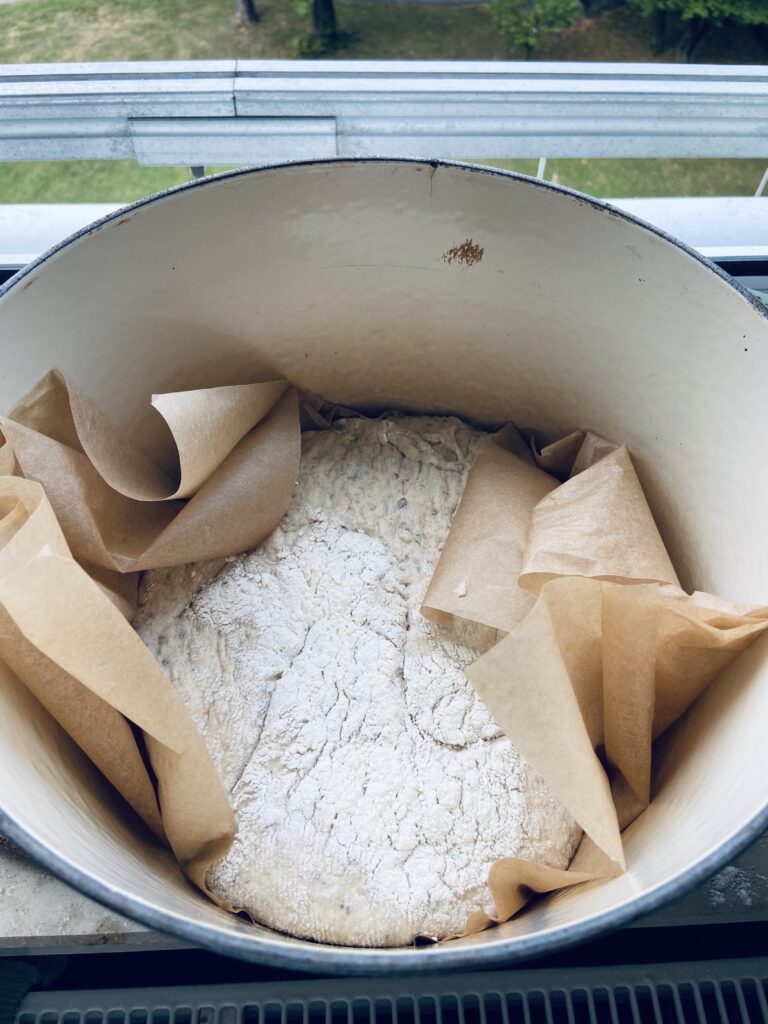
Flour your banneton or a kitchen towel and place it inside a small bowl, it’s just about using something that will help your bread hold a nice shape.
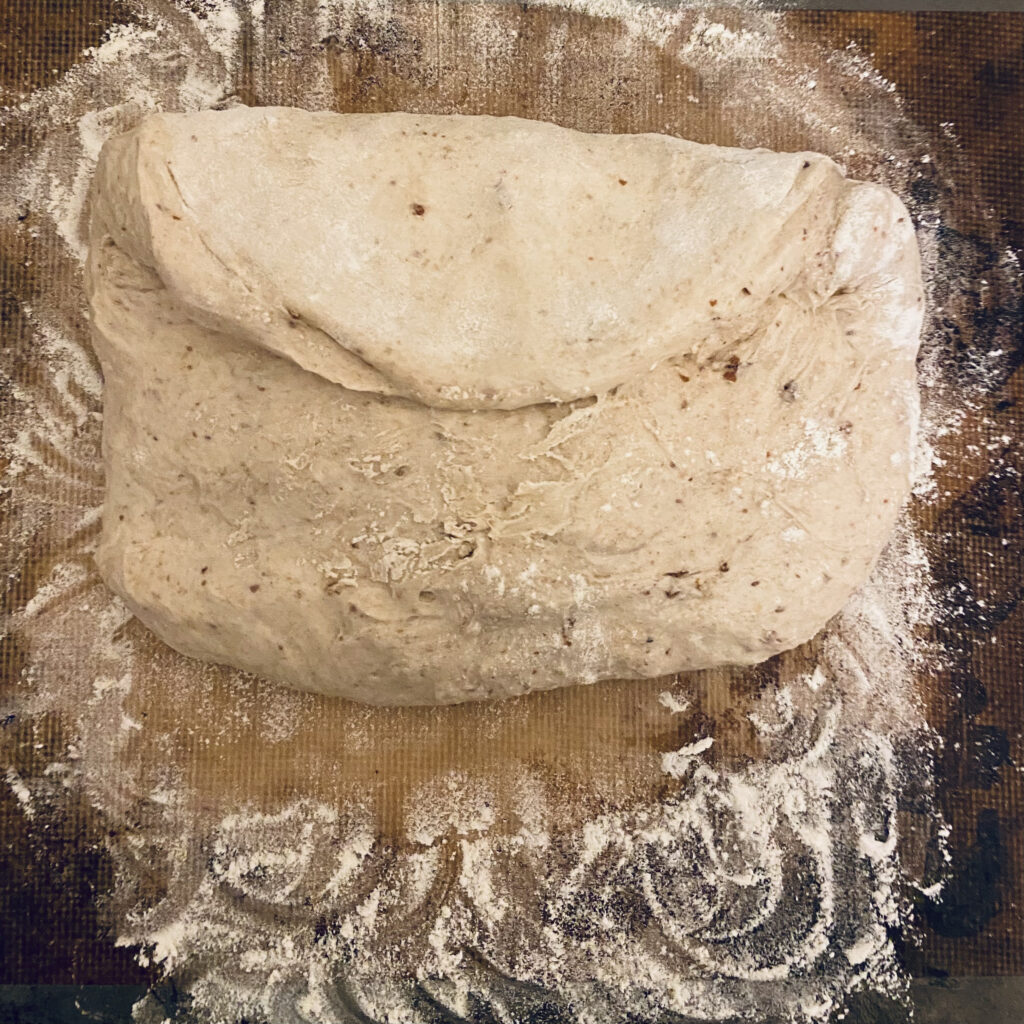
Flour a surface to work on and scrape your dough out of the bowl. We’re going to fold it!
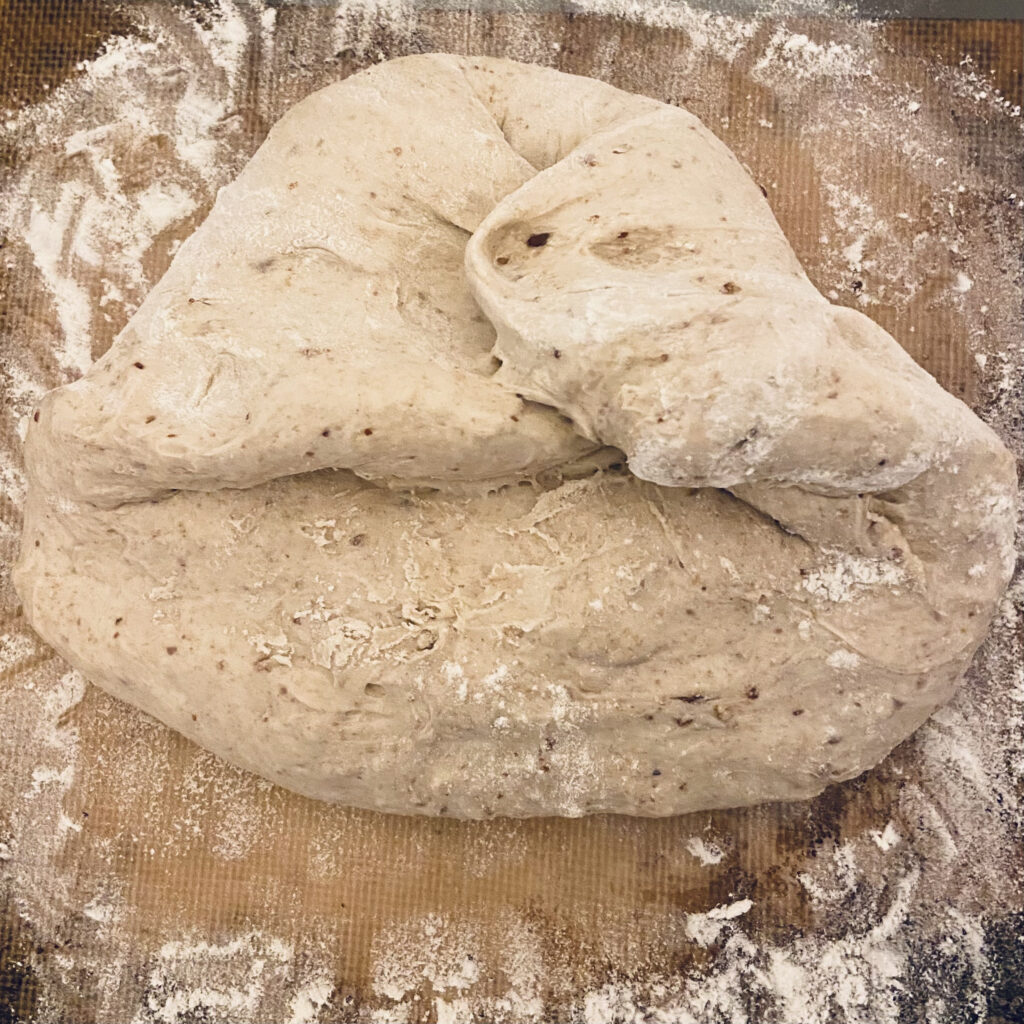
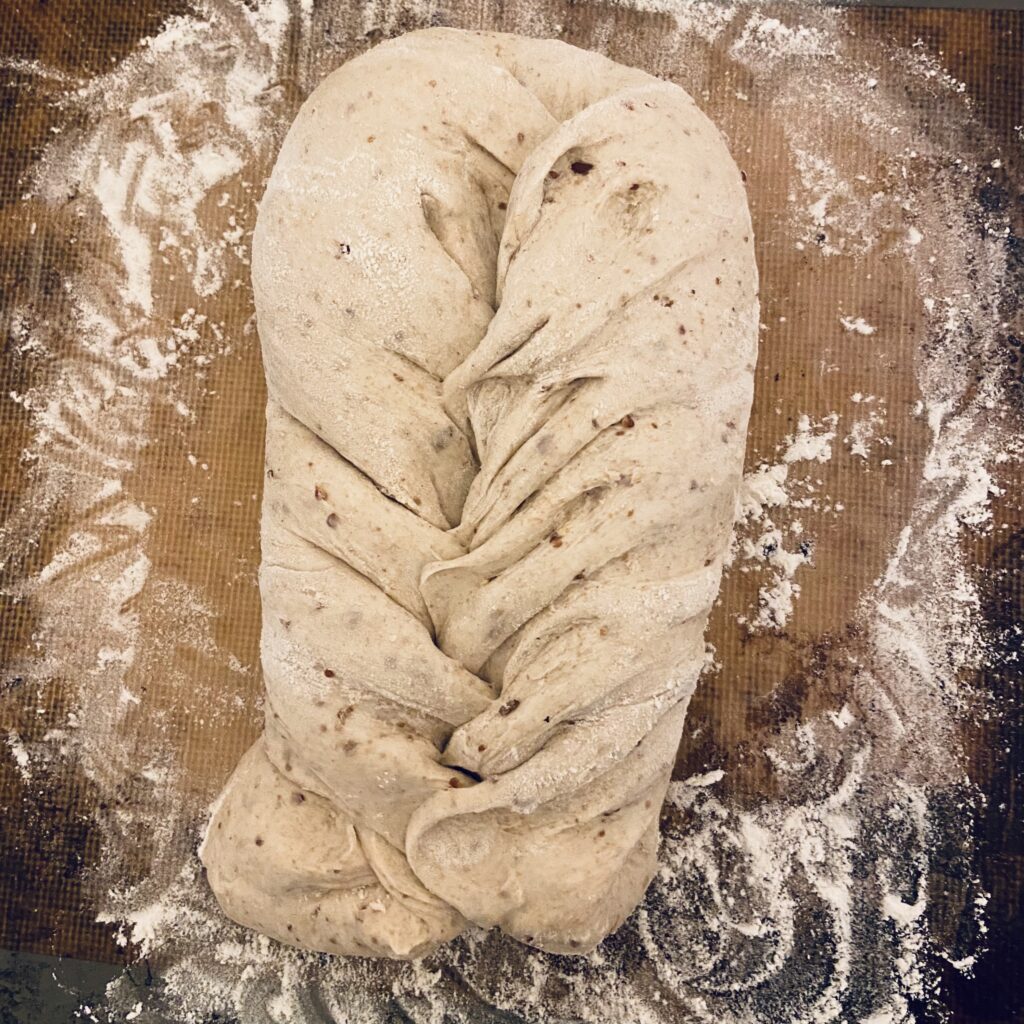
Loosely spread out your dough, flour your hands and fold the top 1/3 over. Now take the corners and pinch them together. Fold the dough over 1/3 again and again. Keep flouring your hands as needed. Once the dough is in a ball, I like to work it a bit more into a circle. Use your dough scraper to place the dough seam side up in your floured basket or bowl.

After 30 minutes, place the dough on parchment paper and score the top with a sharp knife. Get creative here if you want!
One rustic loaf, coming up… It’s time to bake!
Put on your oven mitt and take out your extremely hot dutch oven, or just the lid, and carefully place the bread on the parchment paper inside. Cover it with the lid again and bake for 27 minutes. For a less crunchy crust do 25 minutes.
After 27 minutes, remove the lid and bake for another 30 minutes. At this stage, you might want to put a tray in the oven with a few ice cubes, it adds some nice moisture to the bread.
Now take out your dutch oven and remove the bread from the parchment paper and place it back in the oven on a rack for another 5-10 minutes. If you don’t like a flavorful, crunchy crust, you can skip this step.
After the final 5-10 minutes of cooking, remove your bread and let it cool down for at least 1 hour! Perhaps the most difficult step of the entire recipe! Bread is always best the day it was baked, but I recommend slicing the bread and freezing any extra you might have.
For baking bread at home, there is nothing like a Dutch oven! I love mine so much I even moved to Germany with my Le Creuset Dutch oven. I’m so happy I did because it is perfect for bread, soups and curries and it gets used almost every day! The color of my Le Creuset is not available on Amazon, although I think these two colors are gorgeous if you’re looking to invest in a lifetime cookware piece!
Please note that this recipe may contain affiliate links. You can read my full disclosure & disclamers statement linked at the bottom of the page!
Rustic & Crusty Sourdough Bread
Ingredients
- 80 g Active Roggen-Vollkornmehl / Rye Sourdough Starter
- 330 g Water
- 100 g 405 Weizenmehl / Pastry Flour
- 200 g 550 Weizenmehl / All-Purpose Flour
- 200 g Dinkel-Vollkornmehl / Whole Spelt Flour
- 20 g Ground Flaxseed
- 10-15 g Salt
Instructions
- Feed your starter 3-4 hours in advance
- Combine your water and active starter in a large bowl and whisk together.
- Add in the rest of your ingredients and loosely mix together with your hands, a spatula, or a dough whisk. Rest a damp towel over the bowl and let the mixture rest for about 30 minutes.
- Work your dough by pulling the outside in until it has a smooth texture. This can also be done with a spatula. Once it is a nice, smooth ball, lay a damp towel over the bowl again and let the dough rest for 8-10 hours. If more time is needed, you can always place it in the fridge.
- Preheat your oven and dutch oven.
- Flour your banneton or a tea towl to place inside a bowl.
- Remove your dough with a dough scraper and place it onto a floured surface to fold and form. Once the dough has been worked, place it seam side up in your flowered banneton. Let it rest for 30 minutes.
- Cut a piece of parchment paper that will fit inside your dutch oven. Flip your dough over to have the seam side down on the paper. Score your loaf, and then carefully lower the paper and dough inside the dutch oven and put the lid back on.
- Bake for 27 minutes with the lid on. Then remove the lid and bake another 30 minutes. Then, remove your bread from the dutch oven and determine whether you would like it to brown and harden any more. If so, bake an additional 5-10 minutes on a wire rack.
- Remove from oven and let your bread cool for at least one hour before enjoying!


5 Comments
Mishel Lynn
November 18, 2020 at 1:35 pmAppreciate how detailed this is for someone like myself who has never made bread before!
Megan
November 18, 2020 at 3:11 pmYum! I’ve always wanted to try making sourdough.
Hannah
November 20, 2020 at 4:29 pmThe most flavorful loaf of sourdough I’ve made so far! Even my boyfriend who usually doesn’t eat sourdough loved it! Thank you for sharing this recipe!
mezzoadventures
November 21, 2020 at 10:36 amI am so thrilled the recipe worked out for you!
Healthy Vegan Creamy Tomato Soup - Mezzo Adventures
November 23, 2020 at 4:28 pm[…] it with a sandwich, some delicious bread, or enjoy it alone! This healthy vegan creamy tomato soup recipe is made in the Instant Pot or can […]